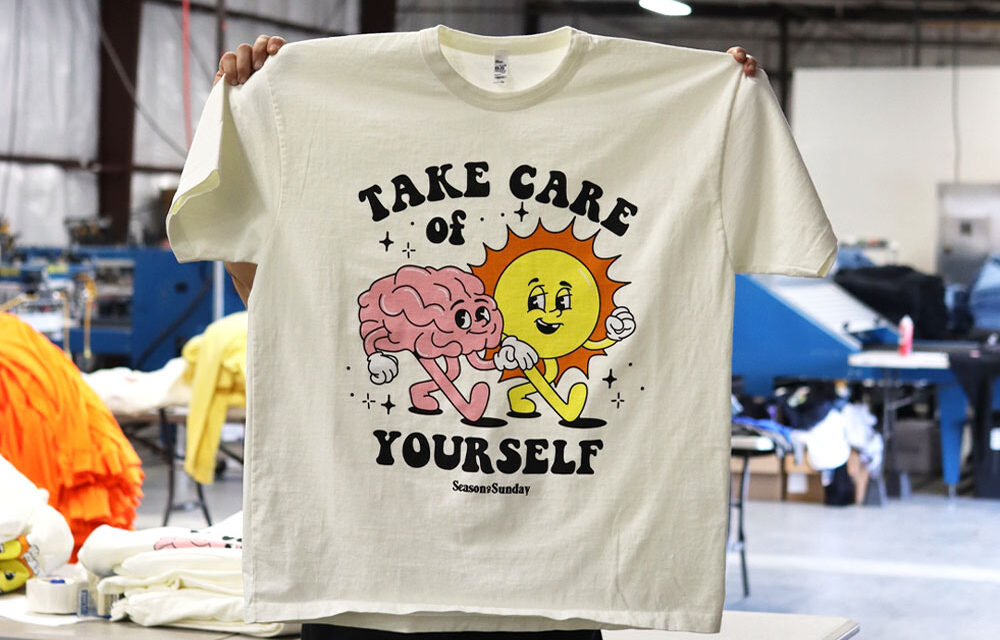


Demystifying the Art of Screen Printing
Screen printing may seem daunting, but it’s a rewarding process that blends art and technique. This guide breaks down each step to help you understand and master the screen printing process.
Step 1: Design Creation and Preparation
Crafting Your Design
- Vector vs. Raster: Start with a high-quality vector image for scalability or a high-resolution raster image.
- Color Separation: Separate your design into different colors since each will require a separate screen.
Step 2: Choosing the Right Screen
Screen Selection
- Mesh Count: Choose a screen with the appropriate mesh count for your ink and design detail level. Higher counts for finer details, lower for thicker inks.
- Screen Preparation: Clean your screen thoroughly to remove any dust or grease.
Step 3: Creating the Stencil
The Stencil-Making Process
- Applying Photo Emulsion: Coat the screen evenly with a light-sensitive emulsion.
- Exposing the Screen: Place your transparency on the screen and expose it to light. The areas covered by your design will remain uncured.
- Washing Out the Screen: Wash away the uncured emulsion to reveal your stencil.
Step 4: Setting Up Your Print Station
Preparing for Printing
- Alignment: Securely mount your screen on the press and align it with your substrate (like a T-shirt or tote bag).
- Test Prints: Do a few test prints on scrap material to check for any issues.
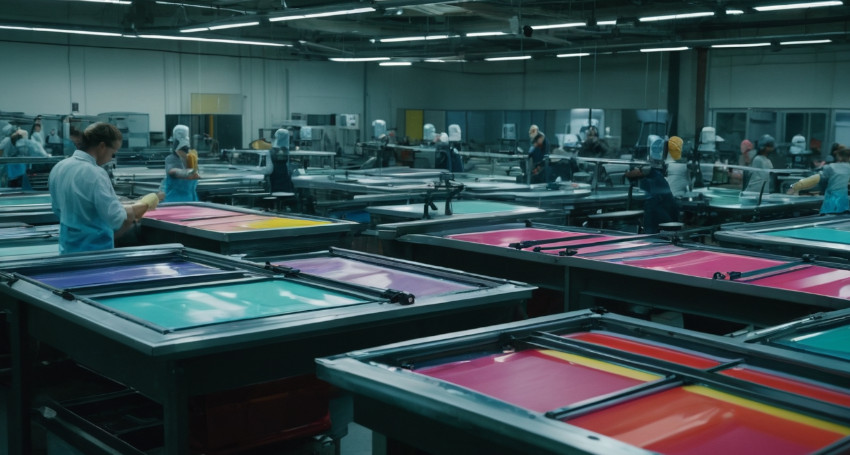
Step 5: Applying the Ink
The Printing Process
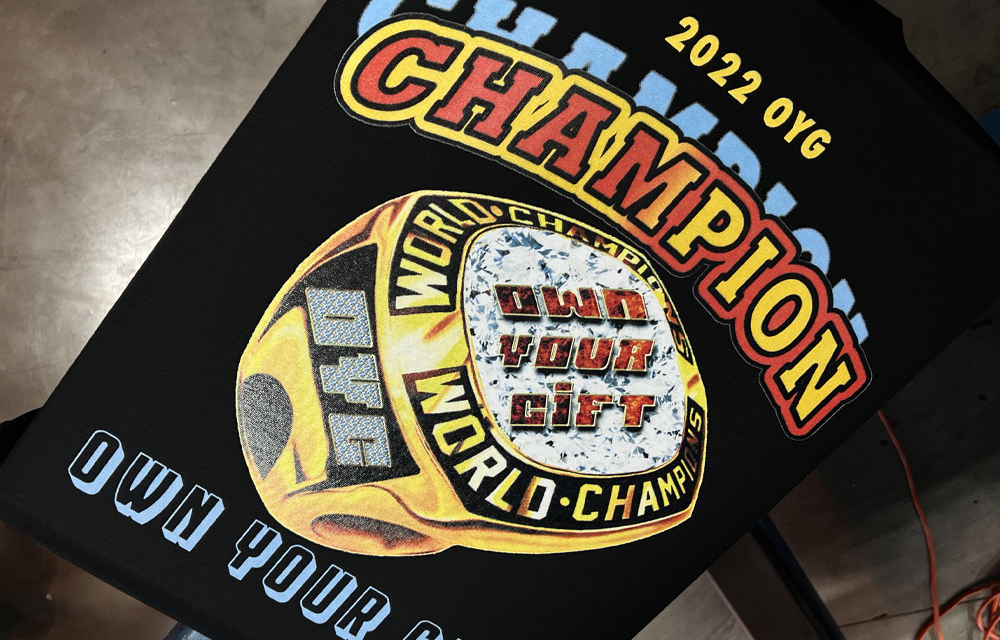
- Ink Application: Flood the screen with ink, then use a squeegee to press the ink through the stencil onto your substrate.
- One Color at a Time: Remember to print one color at a time, allowing each to dry before applying the next.
Step 6: Curing the Ink
Ensuring Durability
- Heat Curing: Use a heat press or conveyor dryer to cure the ink, making it durable and wash-resistant.
Step 7: Cleaning Up
Post-Printing Process
- Clean Your Screens: Immediately clean your screens to remove all ink.
- Ink Disposal: Properly dispose of or store any leftover ink.
Step 8: Quality Control
Checking Your Work
- Inspect Prints: Look for any smudges, misalignments, or ink issues.
- Consistency: Ensure each print maintains consistent quality.
Step 9: Reclaiming Your Screen
Preparing for Future Use
- Removing Emulsion: Use a special emulsion remover to clean your screen, restoring it to its original state for future use.
Step 10: The Final Screen Printing Steps
Wrapping Up
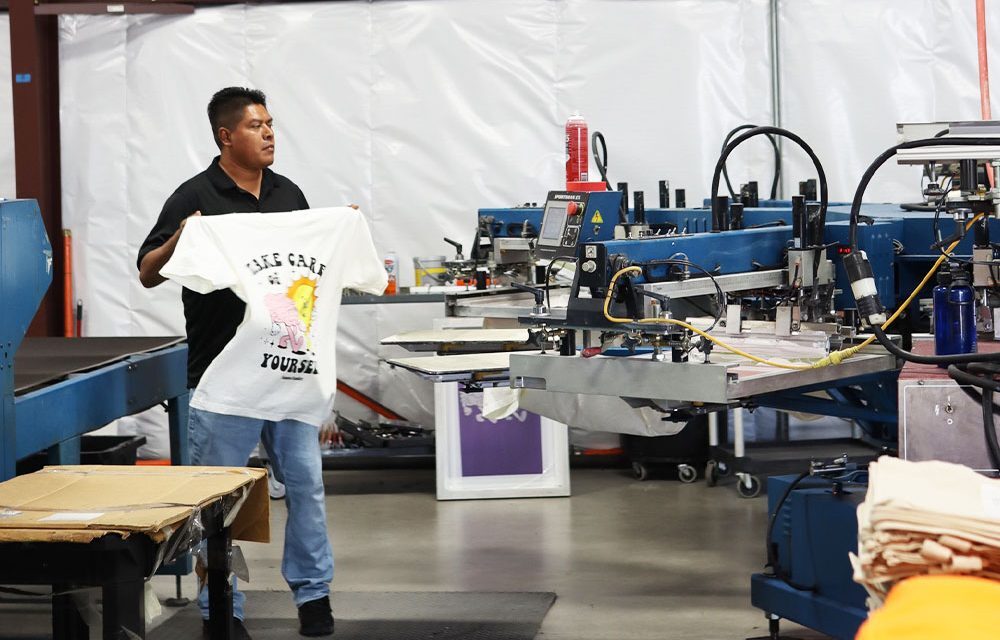
- Folding and Packaging: Once the prints are cured and quality checked, fold them neatly or prepare them for sale or distribution.
Congratulations! You’ve just walked through the entire screen printing process. While it requires patience and practice, screen printing offers a rewarding and tangible way to bring your designs to life. Stay tuned for our next post in the series, where we’ll delve into DIY screen printing at home, offering tips and tricks for beginners.